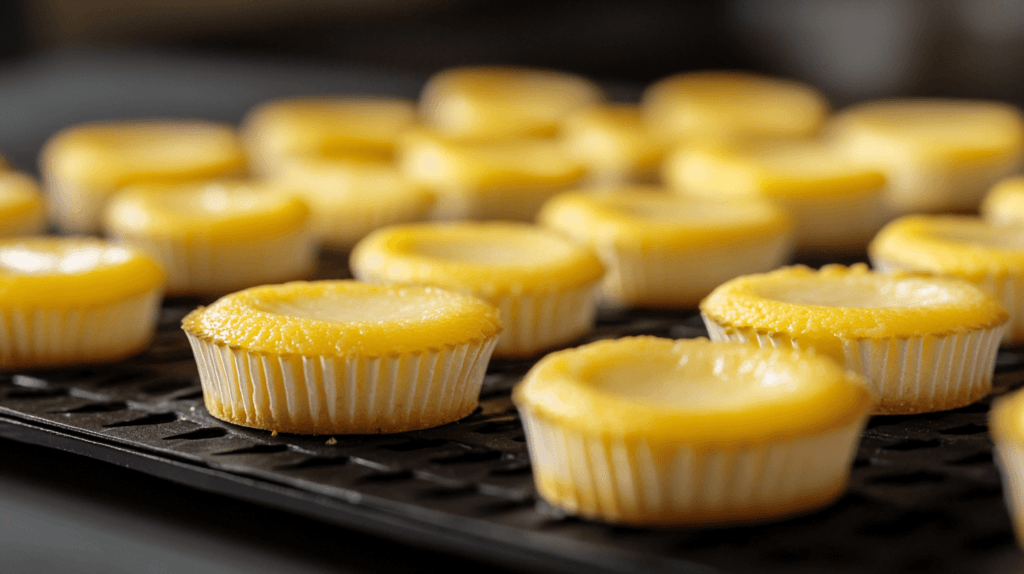
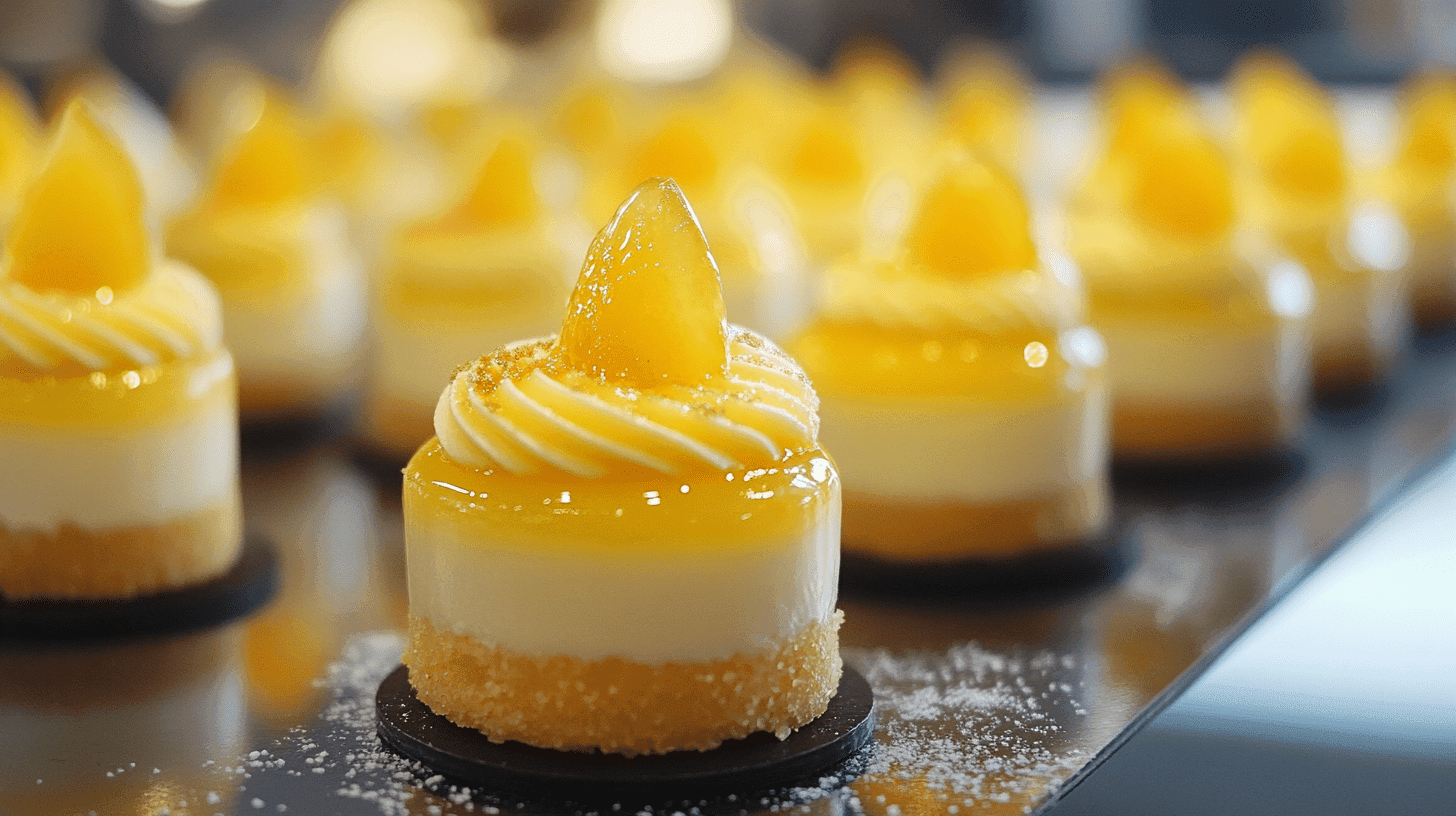
Lemon mini cheesecakes are a delightful and refreshing dessert, perfect for any occasion. These bite-sized treats combine the tangy zing of lemon with the creamy richness of cheesecake, all atop a buttery crust. Whether you’re hosting a dinner party, celebrating a special event, or simply treating yourself, lemon mini cheesecakes are easy to make and guaranteed to impress.
In this recipe, we’ll guide you through creating these heavenly desserts step-by-step. You’ll also learn tips for achieving the perfect texture, creative variations, and the best ways to serve and store them. Let’s dive in and get started on these irresistible lemon mini cheesecakes!
Learn how to craft delightful Mini Pumpkin Cheesecake Recipes for a seasonal twist on dessert.
Table of Contents
Ingredients List

To create these luscious lemon mini cheesecakes, gather the following ingredients:
For the Crust
- 1 cup (120g) graham cracker crumbs (or digestive biscuits, finely crushed)
- 3 tablespoons (45g) unsalted butter, melted
- 2 tablespoons (25g) granulated sugar
For the Cheesecake Filling
- 16 oz (450g) cream cheese, softened to room temperature
- 2/3 cup (135g) granulated sugar
- 2 large eggs, at room temperature
- 1/3 cup (80ml) sour cream
- 1/4 cup (60ml) freshly squeezed lemon juice
- 1 tablespoon lemon zest (about 1 medium lemon)
- 1 teaspoon pure vanilla extract
Optional Toppings
- Fresh whipped cream
- Lemon slices or zest curls
- Fresh berries (e.g., raspberries or blueberries)
- Drizzle of lemon curd or white chocolate
Equipment Needed
Before starting, ensure you have the following tools ready:
- Standard muffin pan with 12 cups
- Cupcake liners or parchment paper liners
- Mixing bowls (large and medium sizes)
- Hand or stand mixer with a paddle attachment
- Spatula and whisk
- Measuring cups and spoons
- Zester or fine grater
- Citrus juicer (manual or electric)
- Cooling rack
Check out the Pumpkin Mini Cheesecake Recipe for another fantastic dessert idea or learn the difference between traditional and modern cooking methods with Turkey Roaster vs. Traditional Oven.
Step-by-Step Instructions
Follow these detailed steps to create the perfect lemon mini cheesecakes. Each step ensures the best texture and flavor for these tangy, creamy delights. Discover the no-bake magic of the Easy Mini Cheesecake Recipe for quick and hassle-free preparation.

1: Prepare the Crust
- Preheat the oven to 325°F (163°C). Line a standard muffin pan with cupcake liners.
- Mix the crust ingredients: In a medium bowl, combine the graham cracker crumbs, melted butter, and sugar. Stir until the mixture resembles wet sand.
- Fill the muffin cups: Spoon about 1 tablespoon of the crust mixture into each liner. Use the back of a spoon or the bottom of a flat glass to press it down firmly into an even layer.
- Bake the crust: Place the pan in the preheated oven and bake for 5 minutes. Remove the pan and set it aside to cool while you prepare the filling.
2: Make the Cheesecake Filling
- Soften the cream cheese: In a large mixing bowl, beat the cream cheese using a hand or stand mixer on medium speed until smooth and creamy (about 2 minutes).
- Add sugar and mix: Gradually add the granulated sugar and continue beating until fully incorporated and fluffy.
- Incorporate eggs: Add the eggs one at a time, mixing on low speed until just blended after each addition. Avoid overmixing to prevent excess air in the batter.
- Add remaining ingredients: Gently mix in the sour cream, lemon juice, lemon zest, and vanilla extract. The batter should be smooth and free of lumps.
3: Assemble the Cheesecakes
- Divide the filling: Spoon or pour the cheesecake filling evenly over the pre-baked crusts in the muffin cups, filling each about 3/4 full.
- Smooth the tops: Use a small offset spatula or the back of a spoon to level the batter for a neat presentation.
4: Bake the Cheesecakes
- Bake the cheesecakes: Place the muffin pan in the oven and bake for 18–20 minutes. The centers should be slightly jiggly but set.
- Cool in the pan: Remove the cheesecakes from the oven and let them cool in the pan for 10 minutes.
- Transfer to a cooling rack: Carefully transfer the cheesecakes to a wire rack and allow them to cool completely to room temperature.
5: Cool and Decorate
- Chill the cheesecakes: Once cooled, transfer the cheesecakes to the refrigerator and chill for at least 2 hours or overnight.
- Add your toppings: Before serving, decorate each mini cheesecake with your choice of toppings, such as whipped cream, lemon slices, or a drizzle of lemon curd.
Tips for Perfect Lemon Mini Cheesecakes
To ensure your lemon mini cheesecakes come out flawless, follow these expert tips for preparation, baking, and presentation.
Use Room Temperature Ingredients
- Why it matters: Using room temperature cream cheese, eggs, and sour cream helps the ingredients blend smoothly, resulting in a creamy and lump-free filling.
- Pro tip: Set the ingredients on the counter about 30 minutes before starting. To speed up the process, place eggs in a bowl of warm water for 5–10 minutes.
Dive into the decadent world of chocolate with this Mini Chocolate Cheesecake Recipe for a rich and satisfying treat.
Don’t Overmix the Batter
- Why it matters: Overmixing can incorporate too much air, leading to cracks or a puffy texture after baking.
- Pro tip: Mix on low speed, and only blend until each ingredient is just incorporated. Scrape the sides of the bowl occasionally to ensure even mixing.
Avoid Overbaking
- Why it matters: Cheesecakes can become dry and cracked if baked too long. The centers should have a slight jiggle when removed from the oven.
- Pro tip: The cheesecakes will continue to set as they cool. Resist the urge to bake until completely firm in the center.
Line Your Muffin Pan Properly
- Why it matters: Using cupcake liners ensures the mini cheesecakes are easy to remove and serve.
- Pro tip: If you prefer a crustless option, grease the muffin pan well with butter or nonstick spray.
Chill for Best Results
- Why it matters: Cheesecakes need time to firm up and develop their flavor in the refrigerator. Skipping the chilling process can result in a softer, less defined texture.
- Pro tip: Plan to chill the cheesecakes for at least 2 hours, or overnight for the best flavor and texture.
Experiment with Toppings
- Why it matters: Adding toppings like whipped cream, lemon zest, or fresh berries enhances both the flavor and presentation.
- Pro tip: For an extra tangy finish, drizzle lemon curd over the top or dust lightly with powdered sugar.
Variations and Substitutions
Lemon mini cheesecakes are versatile, allowing you to experiment with different flavors, ingredients, and textures to suit your taste. Here are some creative variations and practical substitutions you can try.
Alternative Crust Options
- Vanilla Wafer Crust: Replace graham crackers with crushed vanilla wafers for a sweet and buttery base.
- Oreo Crust: Use crushed Oreo cookies for a chocolaty twist. Remove the cream filling before crushing the cookies for a crisp texture.
- Nut-Based Crust: For a gluten-free option, use finely ground almonds, pecans, or walnuts mixed with melted butter and sugar.
- Biscotti Crust: Crushed lemon or almond biscotti can add an extra hint of flavor that complements the lemon cheesecake filling.
Substituting Cream Cheese or Sweeteners
- Low-Fat or Vegan Cream Cheese: Substitute regular cream cheese with a low-fat version or plant-based cream cheese for a lighter or dairy-free option.
- Honey or Maple Syrup: Replace granulated sugar with natural sweeteners like honey or maple syrup for a unique flavor. Use a slightly smaller quantity, as these are sweeter than sugar.
Adding a Twist with Flavors
- Berry Lemon Cheesecakes: Swirl in a spoonful of raspberry or blueberry puree before baking for a fruity touch.
- Citrus Medley: Mix in orange or lime zest along with lemon zest for a combination of citrus flavors.
- Lavender Lemon Cheesecakes: Add a pinch of dried culinary lavender to the filling for a floral note that pairs beautifully with lemon.
- Vanilla and Almond Notes: Enhance the richness of the cheesecake by substituting almond or vanilla extract for a portion of the lemon juice.
Going Sugar-Free or Gluten-Free
- Sugar-Free Cheesecakes: Use a sugar substitute like erythritol or stevia to make these cheesecakes diabetic-friendly or lower in calories.
- Gluten-Free Cheesecakes: Use gluten-free graham crackers or a nut-based crust to accommodate gluten sensitivities.
Seasonal and Holiday Variations
- Spring Delight: Top with edible flowers and fresh mint leaves for a light and airy springtime dessert.
- Festive Holiday Touch: Add a touch of red by topping with cranberry sauce or pomegranate arils for a festive presentation.
- Tropical Cheesecakes: Pair the lemon filling with toasted coconut or a pineapple glaze for a tropical twist.
Storing and Serving Suggestions
Proper storage and thoughtful serving ideas can enhance your lemon mini cheesecakes, ensuring they stay fresh and are presented beautifully.
Refrigeration Guidelines
- How to Store: After the cheesecakes have cooled and been decorated, place them in an airtight container. Arrange them in a single layer to avoid squishing any toppings.
- Shelf Life: Lemon mini cheesecakes can be stored in the refrigerator for up to 5 days. Keep them covered to maintain their texture and prevent them from absorbing other odors in the fridge.
- Pro Tip: If you plan to serve them later, add fresh toppings like whipped cream or berries just before serving to keep them looking fresh.
Freezing Tips
- How to Freeze: Place the cooled, undecorated cheesecakes on a baking sheet and freeze until solid (about 1 hour). Then transfer them to a freezer-safe bag or container, separating layers with parchment paper.
- Shelf Life: Cheesecakes can be frozen for up to 3 months. Thaw them overnight in the refrigerator before serving.
- Pro Tip: For easy single servings, freeze them in their cupcake liners. This makes it simple to thaw and decorate as needed.
Best Ways to Serve
- Toppings: Serve with a dollop of whipped cream, a drizzle of lemon curd, or a sprinkle of powdered sugar for added flavor and presentation.
- Pairings: Pair your lemon mini cheesecakes with coffee, tea, or a sparkling beverage for a delightful dessert experience.
- Plating Ideas: Arrange the cheesecakes on a tiered dessert stand for a visually appealing presentation at events. Use garnishes like edible flowers, mint leaves, or thin lemon slices for a sophisticated touch.
Serving for Special Occasions
- At Parties: These mini cheesecakes are perfect for finger foods. Offer a variety of toppings so guests can choose their favorite.
- For Gifting: Place a few mini cheesecakes in a decorative box or wrap them individually for a homemade gift idea.
- Seasonal Themes: Customize the decorations for holidays or events, such as using red and green toppings for Christmas or pastel garnishes for Easter.
Conclusion
Lemon mini cheesecakes are a versatile, crowd-pleasing dessert that combines creamy textures with a refreshing citrus flavor. Whether you’re making them for a casual gathering or an elegant celebration, this recipe provides endless opportunities for customization and creativity. By following the step-by-step guide and incorporating the tips and variations provided, you’ll be able to craft the perfect lemon mini cheesecakes every time.

