Mini cheesecakes are a delightful dessert, and this Philadelphia Mini Cheesecake Recipe ensures a creamy, rich flavor in perfectly portioned treats. Additionally, these bite-sized indulgences, made with the iconic Philadelphia cream cheese, are easy to prepare and customizable for any occasion. Consequently, they have become a favorite for both casual gatherings and elegant events.
Whether you’re hosting a party, preparing dessert for a special dinner, or simply indulging your sweet tooth, Philadelphia mini cheesecakes are incredibly versatile. For example, you can experiment with various toppings to suit the occasion. By following this recipe, you’ll master the techniques to create cheesecakes that are not only delicious but also visually appealing. Furthermore, the steps outlined will help you achieve consistent results every time.
Table of Contents
Essential Ingredients for the Philadelphia Mini Cheesecake Recipe
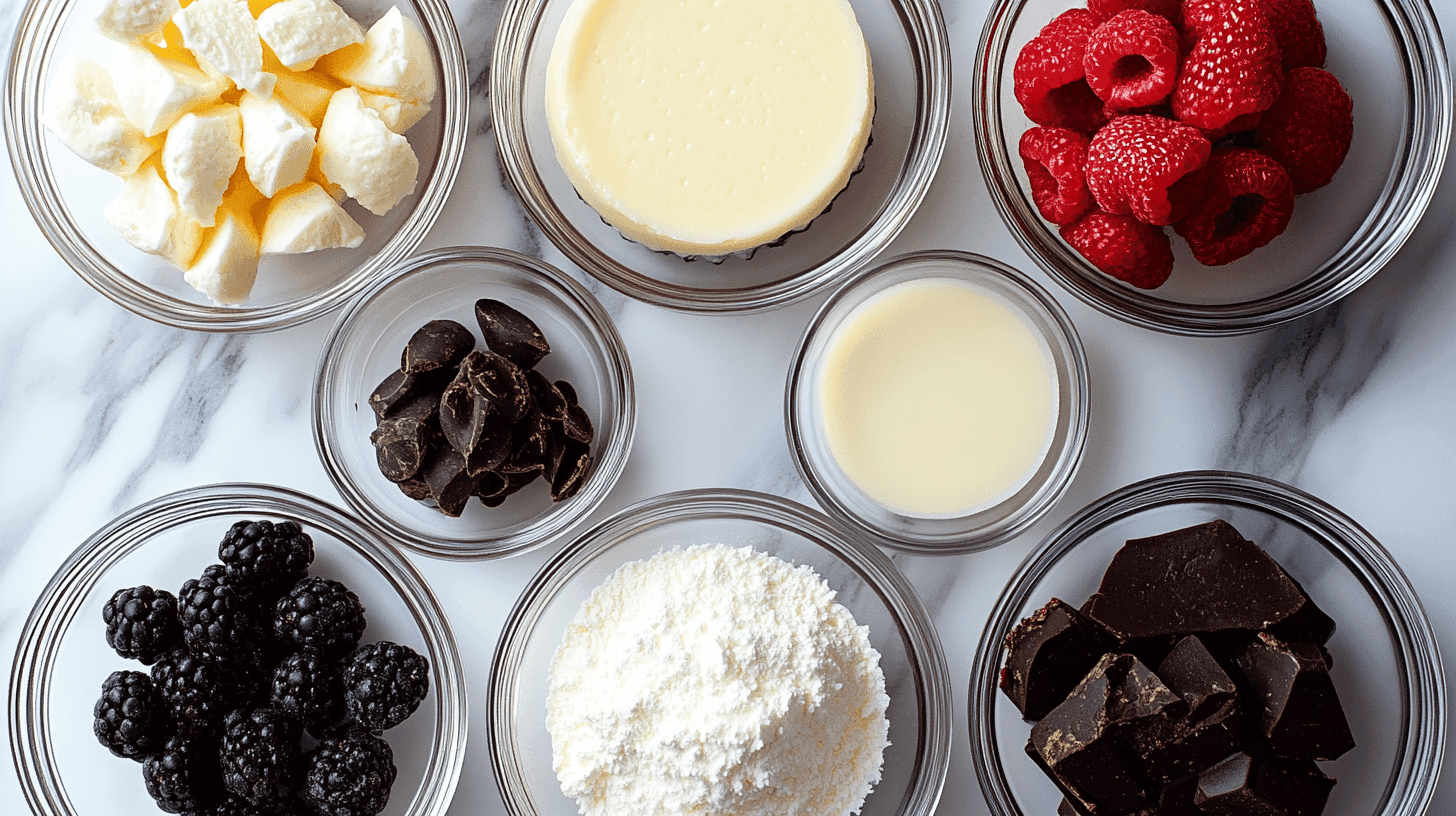
To make these delicious mini cheesecakes, you’ll need the following ingredients for both the crust and the filling. These amounts will yield approximately 12 mini cheesecakes.

Graham Cracker Crust Ingredients for Mini Cheesecakes
- 1 cup (100g) of graham cracker crumbs (about 8-10 crackers)
- 3 tablespoons (45g) of granulated sugar
- 5 tablespoons (70g) of unsalted butter, melted
Creamy Cheesecake Filling Ingredients with Philadelphia Cream Cheese
- 16 ounces (450g) of Philadelphia cream cheese, softened to room temperature
- 1/2 cup (100g) of granulated sugar
- 1 teaspoon of pure vanilla extract
- 2 large eggs, at room temperature
- 1/4 cup (60ml) of sour cream
- 1/4 cup (60ml) of heavy cream
Optional Toppings:
- Fresh fruit (strawberries, blueberries, raspberries)
- Chocolate sauce or caramel drizzle
- Whipped cream
- Crushed nuts or cookie crumbs
Equipment Needed
To prepare your Philadelphia mini cheesecakes, gather the following kitchen tools and equipment:

- 12-cup muffin tin or mini cheesecake pan
- Paper cupcake liners (if using a muffin tin)
- Mixing bowls (one large, one medium)
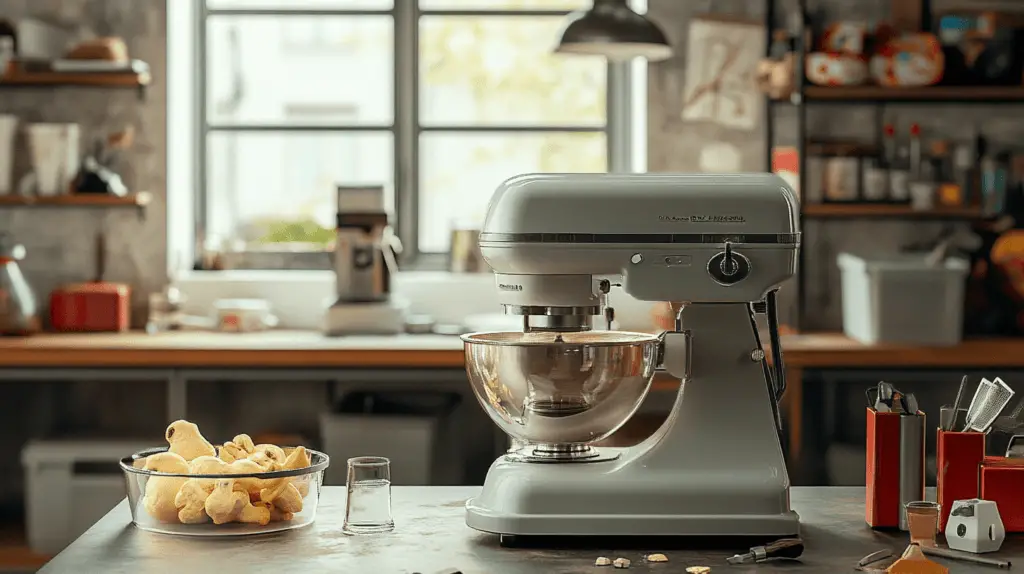
- Electric mixer (handheld or stand mixer)
- Measuring cups and spoons
- Rubber spatula
- Small food processor or rolling pin (for crushing graham crackers)
- Ice cream scoop or spoon (for evenly portioning crust and filling)
- Cooling rack
- Optional: Piping bag for decorative toppings
Step-by-Step Guide to Making Philadelphia Mini Cheesecakes
How to Prepare the Crust for Mini Cheesecakes
To start, crush the graham crackers into fine crumbs using a food processor. If you don’t have one, you can place the crackers in a zip-top bag and crush them with a rolling pin instead. After preparing the crumbs, combine them with sugar and melted butter in a medium-sized bowl. Then, stir until the mixture holds together like wet sand.
Next, line your muffin tin with paper cupcake liners to prevent sticking and make removal easier. Afterward, spoon the graham cracker mixture evenly into the liners. Make sure to press the crust firmly into the bottom using the back of a spoon or a small glass. Finally, bake the crusts in a preheated oven at 325°F (163°C) for 5 minutes. While the crusts cool, you can begin making the filling.
- Crush the Graham Crackers:
- Use a food processor to blitz the graham crackers into fine crumbs. Alternatively, place them in a zip-top bag and crush them with a rolling pin until finely ground.
- Mix the Crust Ingredients:
- In a medium mixing bowl, combine the graham cracker crumbs, granulated sugar, and melted butter. Stir until the mixture resembles wet sand and holds together when pinched.
- Prepare the Muffin Tin:
- Line a 12-cup muffin tin with paper cupcake liners. This prevents sticking and makes removing the cheesecakes easier.
- Portion the Crust:
- Use an ice cream scoop or spoon to evenly distribute the graham cracker mixture into each cupcake liner. Press the crust firmly into the bottom of each liner using the back of a spoon or the bottom of a glass.
- Pre-Bake the Crust:
- Preheat your oven to 325°F (163°C). Bake the crusts for 5 minutes to set them. Remove the tin from the oven and let the crusts cool while you prepare the filling.
Mixing the Philadelphia Cream Cheese Filling for Mini Cheesecakes
Once the crusts are cooling, prepare the cheesecake filling. To begin, beat the softened Philadelphia cream cheese in a large mixing bowl using an electric mixer. As you beat, ensure the texture becomes smooth and creamy, which should take 2-3 minutes. After that, add the sugar and vanilla extract, mixing until fully incorporated.
Then, add the eggs one at a time, beating on low speed after each addition. This way, you’ll avoid overmixing the batter, which can lead to cracks. Afterward, fold in the sour cream and heavy cream to achieve a silky consistency. Be sure to scrape the sides of the bowl with a spatula to mix everything evenly.
- Beat the Cream Cheese:
- In a large mixing bowl, use an electric mixer to beat the softened Philadelphia cream cheese until smooth and creamy, about 2-3 minutes.
- Add Sugar and Vanilla:
- Gradually mix in the granulated sugar and vanilla extract. Beat on medium speed until fully combined.
- Incorporate the Eggs:
- Add the eggs one at a time, mixing on low speed after each addition. Avoid overmixing to prevent air bubbles in the batter.
- Mix in the Sour Cream and Heavy Cream:
- Fold in the sour cream and heavy cream until the batter is silky smooth. Scrape down the sides of the bowl with a spatula to ensure everything is evenly mixed.
Baking the Perfect Philadelphia Mini Cheesecake Recipe
Now that the filling is ready, spoon it over the cooled crusts, filling each liner about three-quarters full. To smooth the tops, use the back of a spoon or a small spatula. Once filled, place the muffin tin in the oven and bake for 18-20 minutes. During this time, check that the centers remain slightly jiggly to avoid overbaking.
After baking, remove the cheesecakes from the oven and allow them to cool in the tin for about 30 minutes. Then, transfer them to a cooling rack to cool completely. Finally, refrigerate the cheesecakes for at least 2-3 hours, or overnight, so they set properly. By this point, your cheesecakes will be ready for decorating.
- Fill the Muffin Tin:
- Spoon the cheesecake filling over the pre-baked crusts, filling each liner about 3/4 full. Use a small spatula or the back of a spoon to smooth the tops.
- Bake the Cheesecakes:
- Place the muffin tin in the preheated oven and bake for 18-20 minutes, or until the centers are just set and slightly jiggly. Avoid overbaking to keep the cheesecakes creamy.
- Cool the Cheesecakes:
- Remove the cheesecakes from the oven and let them cool in the tin for about 30 minutes. Then transfer them to a cooling rack to cool completely.
- Chill in the Refrigerator:
- Cover the cheesecakes and refrigerate them for at least 2-3 hours, or overnight for best results. This allows the flavors to meld and the texture to firm up.
Decorating Your Philadelphia Mini Cheesecake Recipe
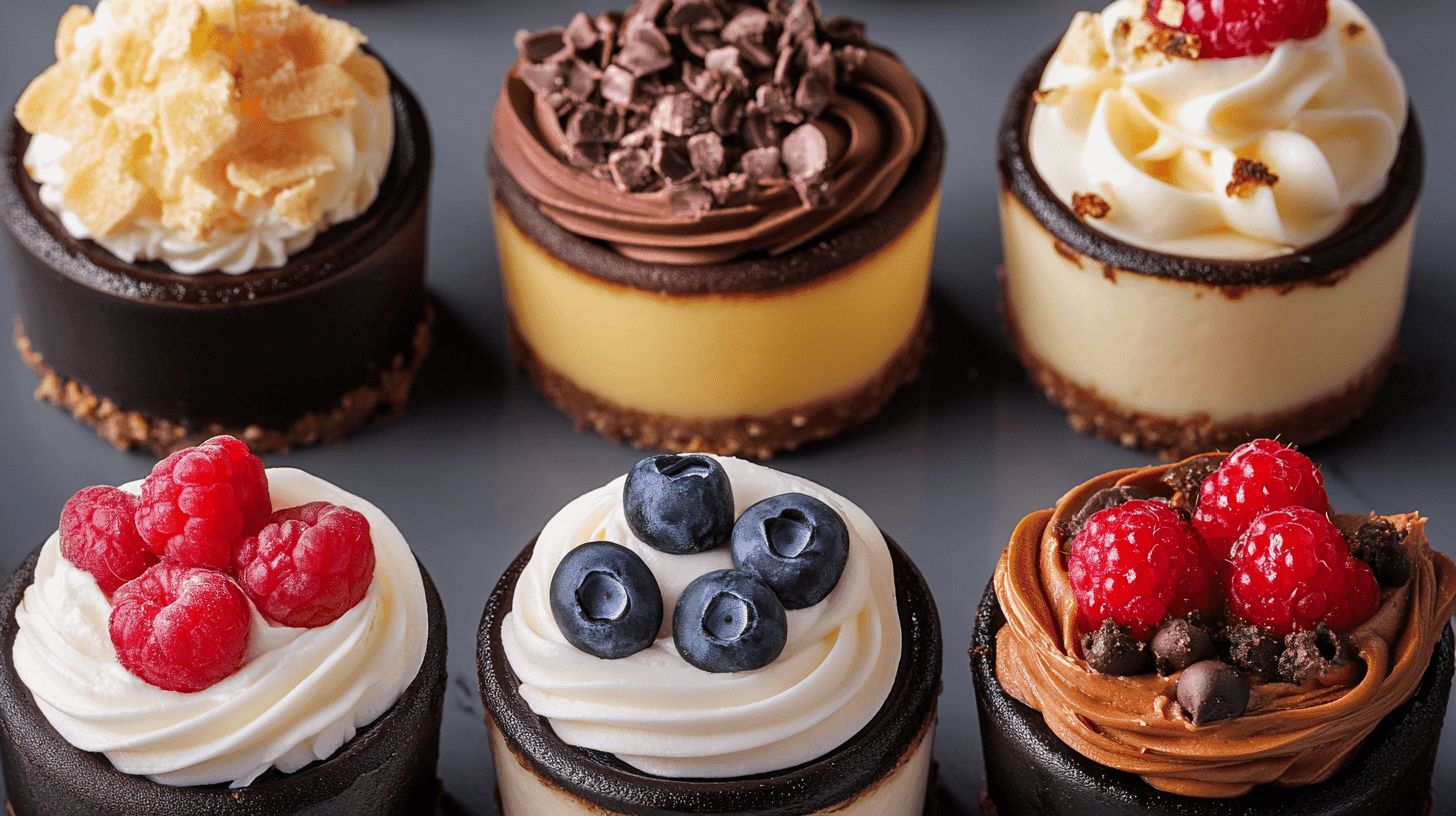
Decorating your Philadelphia mini cheesecakes is a fun and creative process that can elevate their presentation and flavor. Below are various topping ideas and techniques to make your mini cheesecakes visually stunning and irresistibly delicious.

1. Adding Fresh Fruits to Mini Cheesecakes
Fresh Berries:
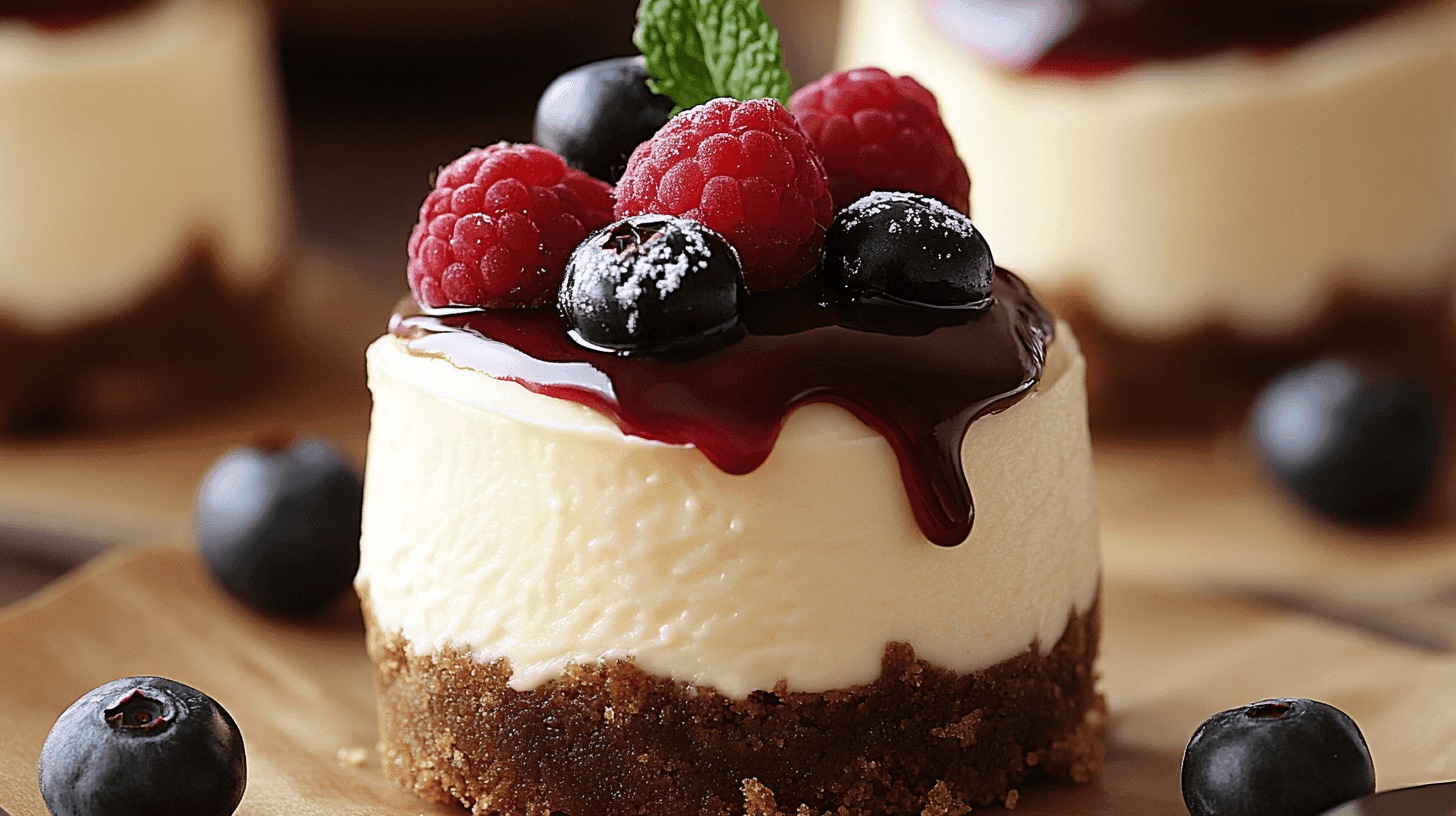
- Top each cheesecake with a combination of fresh strawberries, blueberries, raspberries, or blackberries.
- Add a sprig of mint for a refreshing touch.
Citrus Zest:
- Sprinkle finely grated lemon, lime, or orange zest over the cheesecakes for a burst of flavor and vibrant color.
Fruit Compotes:
- Make a quick compote by simmering your favorite fruit (e.g., strawberries, blueberries, or cherries) with sugar and a splash of lemon juice. Spoon the compote over the cheesecakes for a glossy, flavorful topping.
2. Drizzling Sweet Toppings on Mini Cheesecakes
Chocolate Ganache:
- Create a rich ganache by melting equal parts dark chocolate and heavy cream. Drizzle or spread it over the chilled cheesecakes.
Caramel Drizzle:
- Use store-bought or homemade caramel sauce to create a luxurious topping. Sprinkle a pinch of sea salt for a salted caramel version.
Fruit Syrups:
- Use strawberry, raspberry, or mango syrup for a tangy, colorful drizzle.
3.Using Whipped Cream for a Classic Mini Cheesecake Look
Classic Whipped Cream:
- Pipe or dollop freshly whipped cream onto each cheesecake using a piping bag with a star tip.
Flavored Whipped Cream:
- Add a touch of vanilla extract, cocoa powder, or cinnamon to your whipped cream for extra flavor.
4. Crunchy Elements
Crushed Cookies:
- Sprinkle crushed Oreos, graham crackers, or ginger snaps over the top for added texture.
Chopped Nuts:
- Add chopped pecans, almonds, or pistachios for a nutty crunch.
Toasted Coconut:
- Use toasted coconut flakes for a tropical flair.
5. Themed Decorations
Seasonal Themes:
- For holidays, use themed toppings such as candy canes for Christmas, pastel sprinkles for Easter, or chocolate hearts for Valentine’s Day.
Edible Flowers:
- Garnish with edible flowers like pansies or violets for an elegant, sophisticated look.
Colorful Sprinkles:
- Add rainbow sprinkles for a fun and festive vibe.
Tips for Decoration Success
- Timing: Add decorations just before serving to keep them fresh and vibrant.
- Balance: Ensure the toppings complement the cheesecake’s flavor without overpowering it.
- Creativity: Mix and match toppings to create unique flavor combinations for each cheesecake
The Best Way to Serve Philadelphia Mini Cheesecakes
Serving Tips for Mini Cheesecakes
Mini cheesecakes are versatile and can be served in various settings, from casual get-togethers to elegant events. Here’s how to present them for maximum impact:
1. Serving Temperature
- Serve the cheesecakes chilled, as this enhances their creamy texture and rich flavor.
- For best results, take them out of the refrigerator about 10 minutes before serving to slightly soften.
2. Plating Ideas
Individual Presentation:
- Place each mini cheesecake on a small dessert plate. Add a garnish of fruit, sauce drizzle, or whipped cream directly on the plate for a restaurant-style look.
Dessert Stand:
- Arrange the cheesecakes on a multi-tiered dessert stand. This not only saves space but also adds a touch of elegance.
Buffet Style:
- Display the cheesecakes on a large platter with a variety of toppings. Label each topping option for guests to choose their favorites.
3. Pairing Suggestions
- Beverages: Serve with coffee, tea, or a dessert wine like Moscato or Port.
- Dessert Buffet: Pair with other small desserts like macarons, fruit tarts, or mini cupcakes for a delightful spread.
4. Customization Options
- Create a cheesecake “bar” by providing plain cheesecakes and a selection of toppings for guests to customize their own.
Storing Mini Cheesecakes to Retain Their Freshness
Proper storage ensures your mini cheesecakes remain fresh and delicious for days. Follow these tips:
1. Refrigeration
- Storage Time: Mini cheesecakes can be stored in the refrigerator for up to 5 days.
- Method: Place them in an airtight container or cover the muffin tin with plastic wrap to prevent drying out or absorbing fridge odors.
2. Freezing
- For Longer Storage: Mini cheesecakes freeze beautifully and can be kept for up to 3 months.
- Freezing Instructions:
- Allow the cheesecakes to cool and chill completely in the refrigerator first.
- Remove the paper liners (if used) and wrap each cheesecake tightly in plastic wrap.
- Place the wrapped cheesecakes in a freezer-safe bag or container.
- Thawing: To serve, transfer the cheesecakes to the refrigerator and let them thaw overnight.
3. Avoiding Common Storage Mistakes
- Do not leave cheesecakes at room temperature for more than 2 hours, as this can compromise their texture and safety.
- Avoid stacking them directly on top of each other to prevent smushing or ruining the toppings.
FAQs About Philadelphia Mini Cheesecake Recipe
1. Can I use a substitute for Philadelphia cream cheese?
Yes, you can use other cream cheese brands, but Philadelphia is recommended for its smooth texture and rich flavor. Avoid low-fat or whipped varieties, as وجبة they can affect the consistency of the cheesecake.
2. What if I don’t have a muffin tin?
If you don’t have a muffin tin, you can use ramekins or silicone molds. Ensure you adjust the baking time slightly, as the size and shape of the containers may vary.
3. Can I make these cheesecakes gluten-free?
Absolutely! Substitute the graham crackers with gluten-free graham crackers or cookies for a gluten-free version.
4. How do I prevent cracks in my cheesecake filling?
- Avoid overmixing the batter, especially after adding the eggs.
- Bake at the recommended temperature and do not overbake. The center should still jiggle slightly when done.
- Ensure the cheesecakes cool gradually to prevent sudden temperature changes, which can cause cracking.
5. Can I double the recipe?
Yes, you can easily double the recipe to make more cheesecakes. Use two muffin tins or bake in batches to accommodate the extra batter.
6. Can I make mini cheesecakes ahead of time?
Yes, mini cheesecakes are perfect for making ahead. Prepare them up to 2 days in advance and store them in the refrigerator until ready to serve. Add toppings just before serving for the best results.
Conclusion
Philadelphia mini cheesecakes are the ultimate combination of simplicity, elegance, and flavor. Their bite-sized portions make them perfect for any occasion, from casual family gatherings to formal celebrations. With their creamy filling and customizable toppings, these cheesecakes are sure to impress your guests and satisfy your sweet tooth.
By following this recipe, you’ll create perfectly portioned, rich, and indulgent treats every time. Don’t hesitate to experiment with flavors and decorations to make them uniquely yours. Now it’s time to grab your ingredients, preheat the oven, and whip up a batch of these delightful mini cheesecakes. Happy baking!

