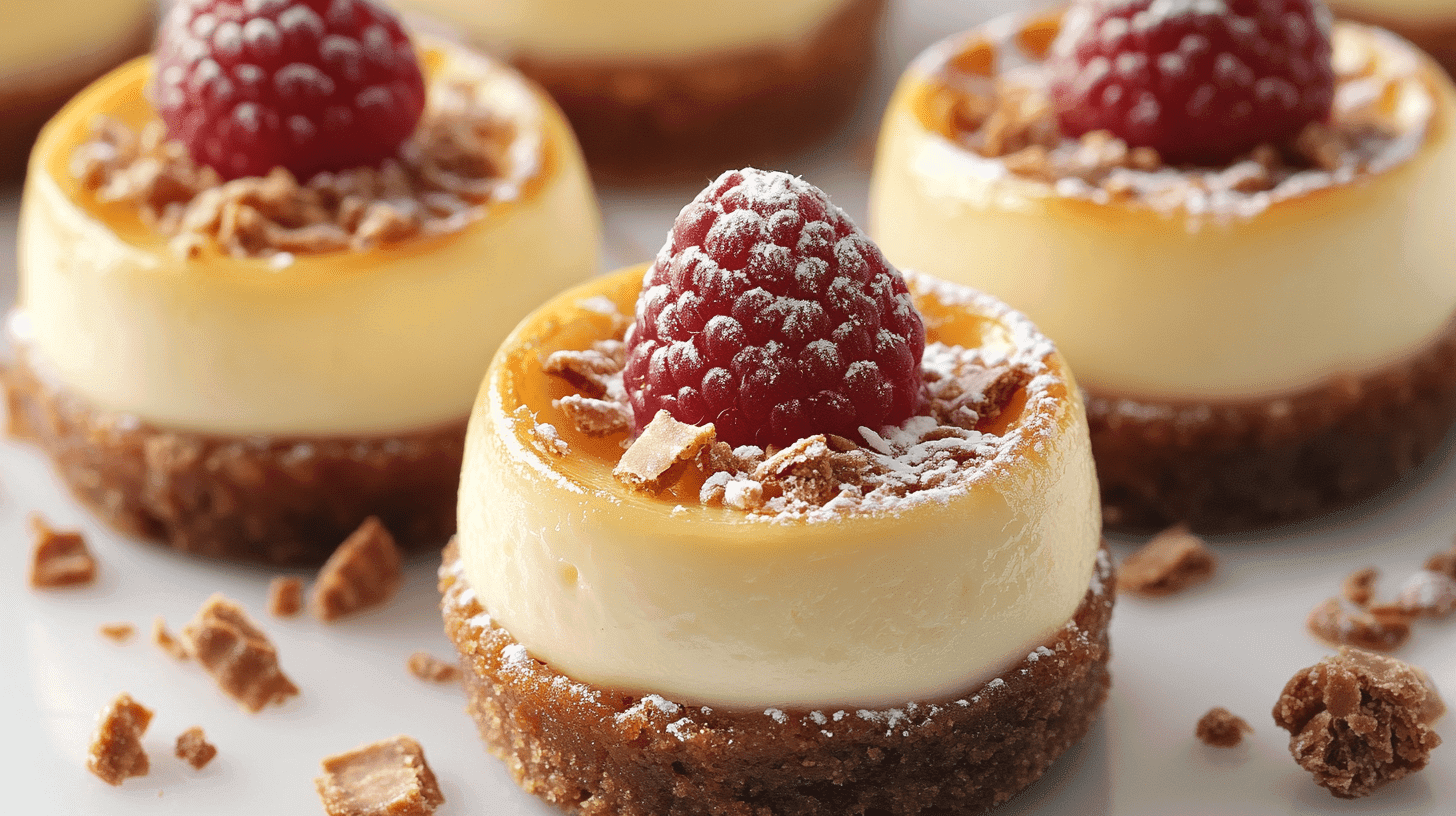
Mini cheesecakes are a delightful dessert option that combines rich, creamy flavors with the convenience of individual servings. This easy Mini Cheesecake Recipe with Nilla Wafers is perfect for beginners and seasoned bakers alike, offering a creamy cheesecake filling atop a simple and flavorful Nilla wafer crust. Whether you’re hosting a party, celebrating a special occasion, or indulging in a personal treat, these mini cheesecakes are quick to prepare and always a crowd-pleaser.For more inspiration, explore this easy mini cheesecake recipe for no-bake options.
In this article, we’ll walk you through every step of creating mini cheesecakes with Nilla wafers, from assembling the crust to adding delicious toppings. Whether you’re a baking novice or a seasoned pro, this recipe is sure to become a favorite in your dessert repertoire.
Table of Contents
Ingredients Needed
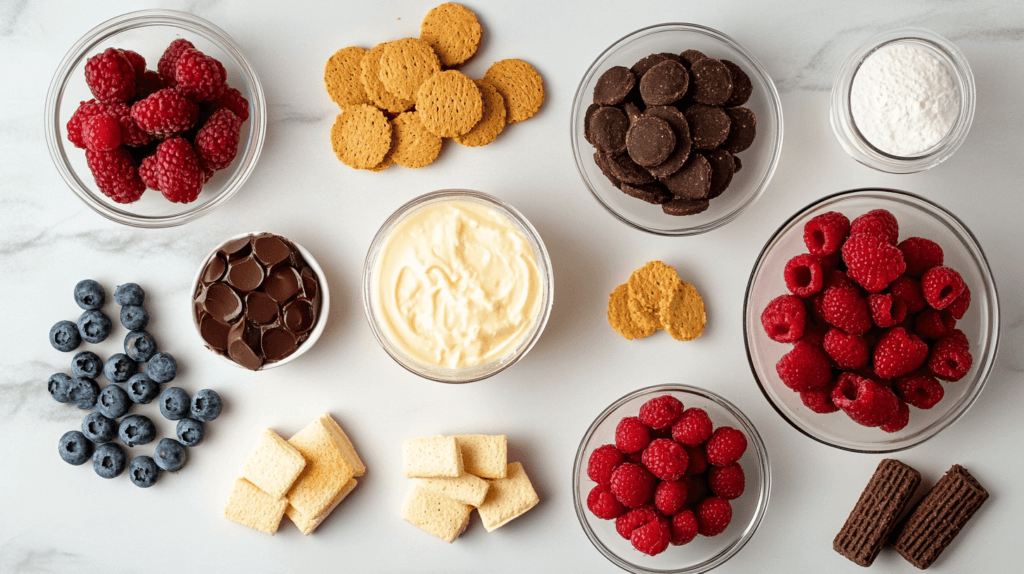
To create this delicious Mini Cheesecake Recipe with Nilla Wafers, you’ll need simple ingredients that are easy to find and work together for the perfect dessert.

Nilla Wafer Crust for Mini Cheesecakes
Details about the crust ingredients.
- 12 Nilla wafers (or more, depending on your muffin tin size), or explore alternatives like graham crackers, as shown in mini chocolate cheesecake recipe.
- Optional: 2 tablespoons melted butter (for a sturdier crust, though Nilla wafers work fine on their own)
Cheesecake Filling for Creamy Mini Cheesecakes
Details about the filling ingredients. Cream cheese, sugar, eggs, and sour cream. For a seasonal variation, you might enjoy our ultimate guide to mini pumpkin cheesecake recipe.
- 16 oz (2 blocks) cream cheese, softened
- ½ cup granulated sugar
- 2 large eggs
- 1 teaspoon vanilla extract
- 2 tablespoons sour cream or Greek yogurt (for added creaminess)
Tools Needed for Mini Cheesecake Recipe with Nilla Wafers
Tools and Equipment
Before starting the recipe, ensure you have the following tools and equipment on hand to make the process seamless:
- Muffin tin: A standard 12-cup muffin tin is ideal for making mini cheesecakes.
- Paper liners: Use muffin or cupcake liners to prevent sticking and for easy removal.
- Mixing bowls: Separate bowls for preparing the cheesecake filling and any optional toppings.
- Hand mixer or stand mixer: For achieving a smooth and creamy cheesecake filling.
- Spatula: Useful for scraping down the sides of the bowl to ensure everything is evenly mixed.
- Spoon or cookie scoop: To portion the cheesecake batter evenly into the muffin cups.
Step-by-Step Instructions for Mini Cheesecake Recipe with Nilla Wafers
How to set up the crust with Nilla wafers.
Preparing the Nilla Wafer Crust
Use Nilla wafers or crush and mix with melted butter for a firm base. Similar techniques are used in our Philadelphia mini cheesecake recipe.

- Preheat your oven: Set the oven to 325°F (165°C) to ensure even baking.
- Line the muffin tin: Place paper liners in each cup of the muffin tin.
- Add the Nilla wafers: Place one Nilla wafer flat-side down into the bottom of each lined cup. This serves as the base or “crust” of your mini cheesecakes. For a sturdier crust, crush the wafers, mix with melted butter, and press them into the liners.
- Set aside: Once all cups have their wafer base, set the muffin tin aside while you prepare the filling.
Making the Cheesecake Filling
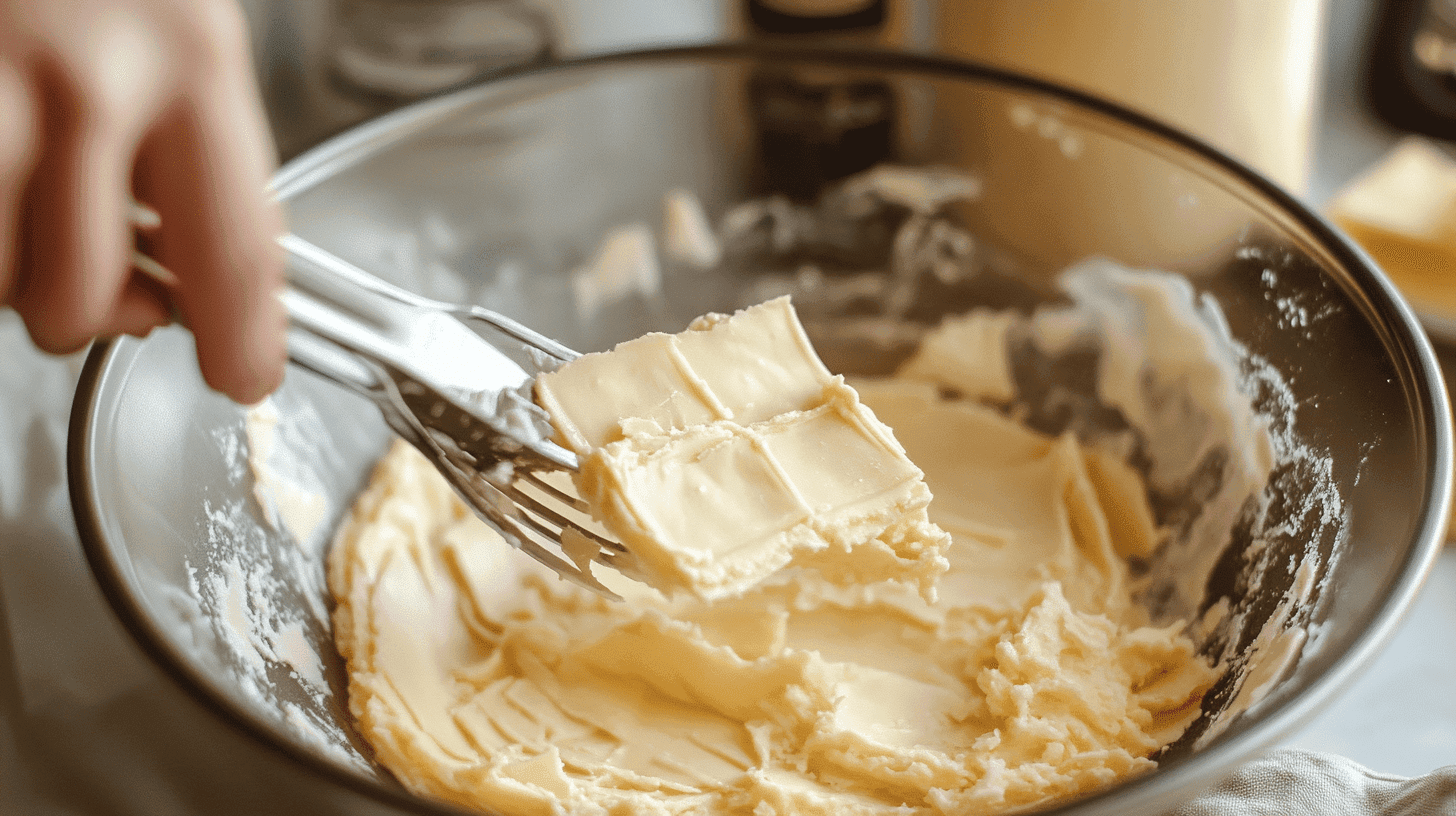
Beat softened cream cheese with sugar until smooth. Incorporate eggs one at a time for a creamy texture. Learn more tips for achieving the perfect filling in this mini strawberry cheesecake recipe. Steps for creating the creamy cheesecake filling.
- Soften the cream cheese: Allow the cream cheese to come to room temperature before starting. This helps achieve a smooth consistency.
- Beat the cream cheese and sugar: In a large mixing bowl, use a hand mixer or stand mixer to beat the softened cream cheese and sugar together until smooth and fluffy, about 2-3 minutes.
- Add eggs one at a time: Crack in the eggs, one at a time, mixing well after each addition. Scrape down the sides of the bowl to incorporate everything evenly.
- Mix in vanilla and sour cream: Add the vanilla extract and sour cream (or Greek yogurt). Continue mixing until the batter is creamy and lump-free. Avoid overmixing, as this can introduce air and cause cracking during baking.
Assembling the Mini Cheesecakes
Portion the batter over the crust and bake at 325°F until set. For a no-bake alternative, try our easy mini cheesecake recipe. How to layer and bake for perfect results.
- Fill the cups: Using a spoon or cookie scoop, evenly divide the cheesecake batter among the prepared muffin cups. Fill each liner about ¾ full to allow for slight expansion during baking.
- Smooth the tops: Use the back of a spoon or a small spatula to gently smooth the tops of the batter in each cup.
Assembling and Baking Your Mini Cheesecake with Nilla Wafers
These expert tips will help you master this Mini Cheesecake Recipe with Nilla Wafers, ensuring your desserts turn out creamy and smooth.
- Bake: Place the muffin tin in the preheated oven and bake for 18-20 minutes, or until the edges are set and the centers have a slight jiggle when gently shaken. Avoid overbaking to keep the cheesecakes creamy.
- Cool in the tin: Remove the muffin tin from the oven and let the cheesecakes cool in the tin for about 15 minutes.
- Chill: Transfer the cheesecakes to the refrigerator and chill for at least 2 hours, or until fully set.
Optional Toppings and Variations

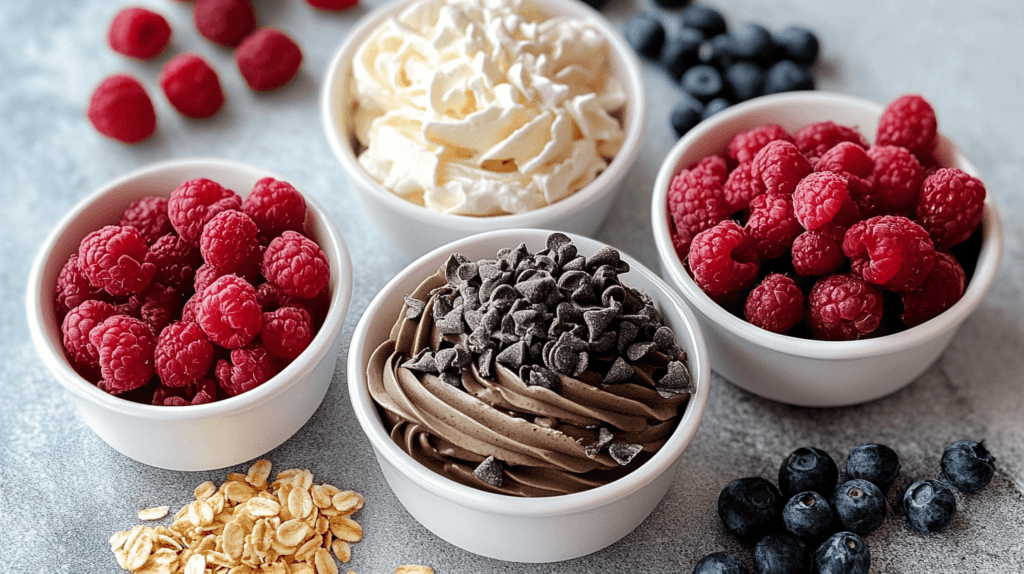
Fresh Fruit Toppings for Mini Cheesecakes
Ideas for adding fresh fruit.
- Fresh berries, sliced kiwi, or a dollop of cherry pie filling.
Chocolate and Caramel Drizzles for Nilla Wafer Cheesecakes
Creative topping combinations.
- Add melted chocolate or caramel sauce for extra sweetness.
Whipped Cream and Crunchy Add-Ons for Mini Cheesecakes
- A swirl of whipped cream adds elegance and creaminess.
Crunchy Add-Ons
- Sprinkle crushed Oreos, toffee bits, or chopped nuts for texture and flavor.
Tips for Perfect Mini Cheesecakes
Avoiding Mistakes When Making Mini Cheesecake Recipe with Nilla Wafers
Troubleshooting baking issues.
- Don’t overmix the batter: Overmixing can lead to air bubbles and cracks.
- Use room-temperature ingredients: Prevent lumps by using softened cream cheese and eggs.
- Monitor baking time: Bake just until the edges are set and centers are slightly jiggly.
- Cool gradually: Let the cheesecakes cool in the tin before refrigerating to prevent cracking.
Storing and Serving Mini Cheesecake with Nilla Wafers
Best practices for storage and presentation.
Chilling the Cheesecakes
- Chill for at least 2 hours or overnight to ensure the texture firms up properly.
Freezing for Longer Storage
- Freeze completely cooled cheesecakes for up to 3 months. Thaw overnight before serving.
Serving Tips
- Serve slightly chilled or let sit at room temperature for 10-15 minutes for a softer texture.
Creative Customization Ideas
Seasonal Flavors
- Add pumpkin puree and spices for fall-inspired cheesecakes or lemon zest for a summery touch, as featured in pumpkin banana loaf recipes.
Swirled Fillings
- Use a toothpick to swirl in raspberry jam, Nutella, or caramel for a marbled effect, Explore creative ideas from our mini chocolate cheesecake guide.
Cookie Crust Alternatives
- Swap Nilla wafers for graham crackers, Oreos, or ginger snaps.
Frequently Asked Questions (FAQs)
Can I use a substitute for Nilla wafers?
Yes! Options include graham crackers, Oreos, digestive biscuits, or gluten-free cookies. For more crust ideas, refer to our mini strawberry cheesecake recipe.
Can I make this recipe gluten-free?
Absolutely. Use gluten-free cookies for the crust, and verify all other ingredients are gluten-free.
Do I need a water bath for baking?
No, mini cheesecakes bake evenly without a water bath. However, adding a pan of water on a lower oven rack can help maintain moisture. For more tips on maintaining freshness, visit our Philadelphia mini cheesecake recipe.
Conclusion
Mini cheesecakes with Nilla wafers are a perfect blend of simplicity and sophistication. Their creamy filling and crisp wafer crust make them an irresistible dessert. With easy steps and endless customization options, this recipe will quickly become a favorite in your home.
Start baking today and enjoy these delightful treats at your next event or as a personal indulgence. One bite, and you’ll see why they’re a timeless classic!

